A Fresh Kotti Site
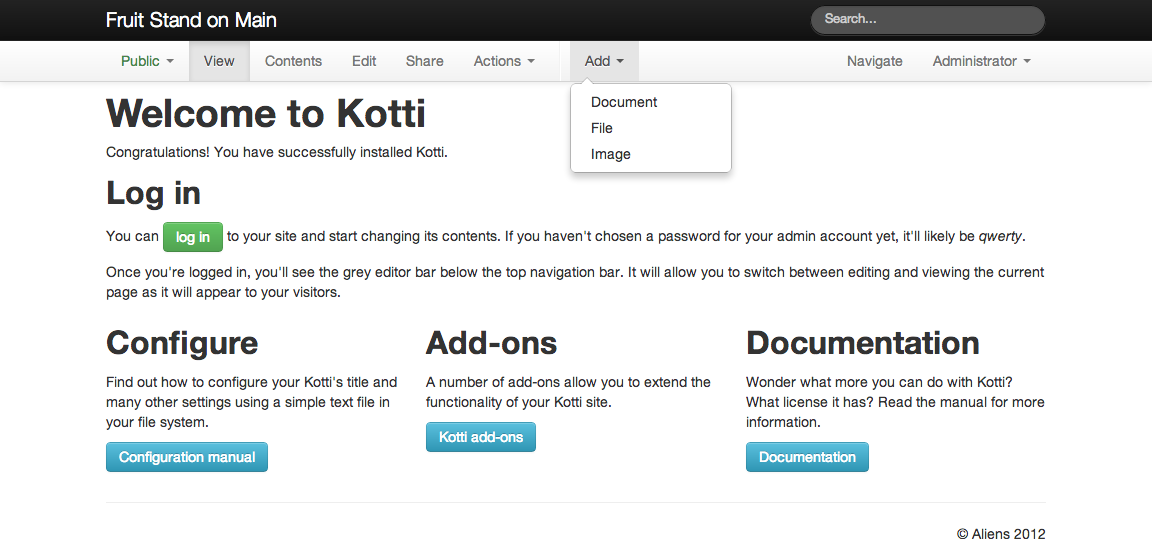
For the website associated with this user manual we will add content for a fruit stand. Our fresh default Kotti website looks simple enough:
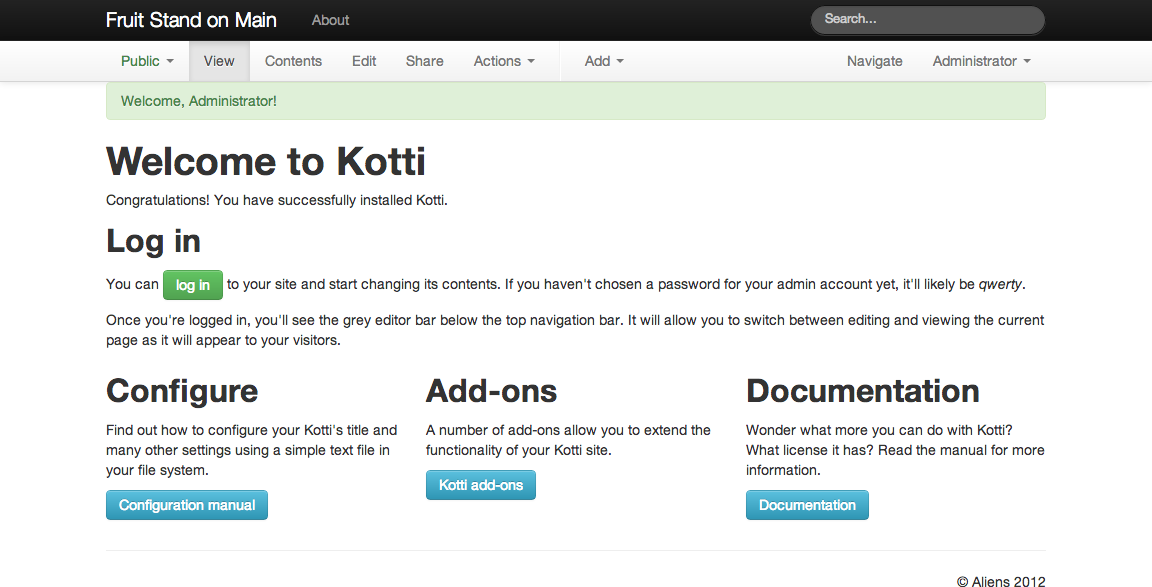
You see where the site has already been given a proper “Fruit Stand on Main” title when the site was created by our website hosting provider. You also see a search box on the right side of the toolbar at the top. There is a welcome statement, instructions for logging in, configuring the site, viewing a list of available add-ons, and viewing documentation. The amusing default footer is a signature of a software system called Pyramid that Kotti uses as a foundation.
We have the site title already, but the rest will change when we add content for the fruit stand.
Logging In
Let’s log in by clicking the “Log In” button on the default Kotti website’s front page. That takes us to a page with the web address “/login” (which would be on the end of the base web address, e.g., “http://www.example.com/login”). Here you can see where the username “Admin” and the password is being entered:
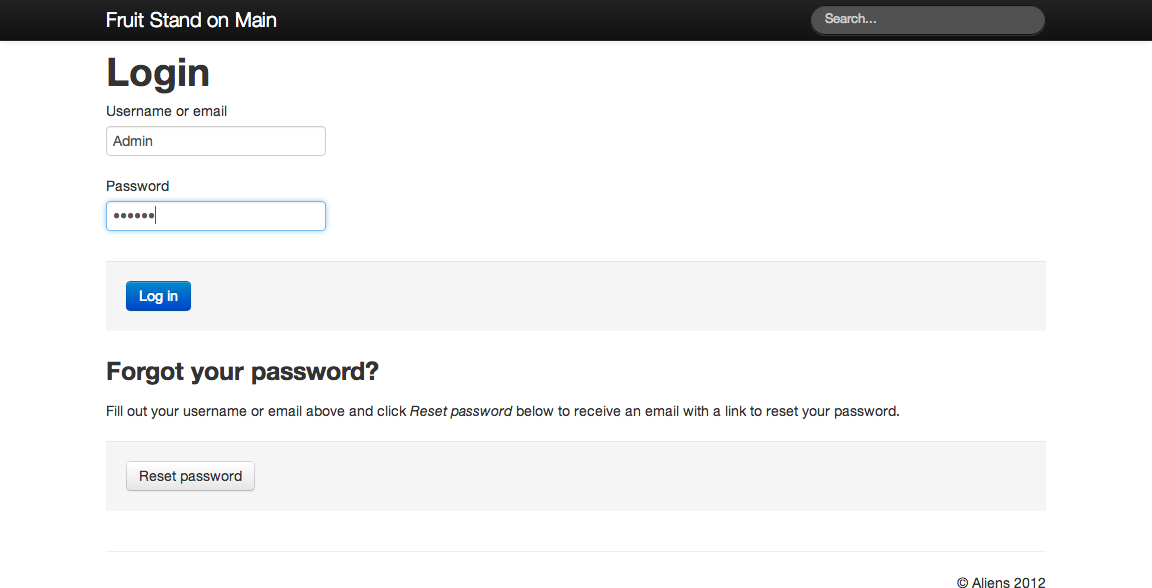
You should be given a password by the person or company who set up your site.
After submitting the username and password by clicking the “Log In” button, and after they have been successfully matched to an existing user account, the site will be shown in “logged in” view:
Preliminary Tasks
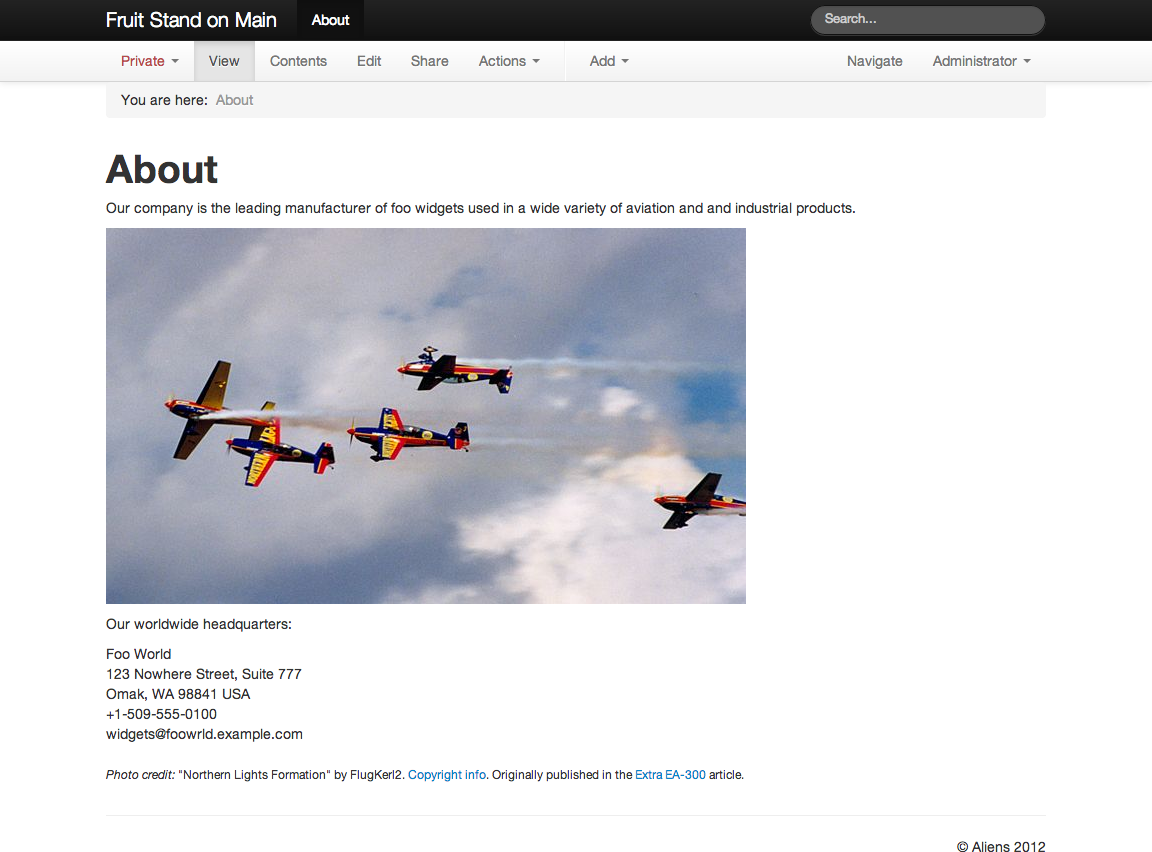
The default installation of a Kotti website has a front page with general information about Kotti itself, and a single document called “About” that has a photograph of airplanes and placeholder text. You will likely see some “starter” example content of some sort when your site is created. We’ll go throught this example for the absolute default case.
Both the front page and the “About” page need to be changed for a new website. Someone may have already set up your site, or you may be part of a larger organization where you work on just one part of a large site, but as we go through this user manual, we’ll work as if you are starting with your own new website for the fruit stand as the sole user, the Admin user.
We will replace the default “About” page with information about the fruit stand offerings and schedule, and we will put introductory information on the front page. We will add a Document called “Fruits” and to it we will add images of the fruits for sale. We will tag the fruit images for fruit categories to which they belong. This will be enough to demonstrate Kotti’s main features.
Deleting the Default About Page
For the first task, let’s delete the default “About” page. We are logged in, so we can see it. Notice that it is in the Private state (left side of screen, see “Private” in what is called the editor bar, the row of menu choices underneath the black toolbar):
Note
You need to be logged in to see Add, Edit, and other forms, and you need rights as either the Admin user or a user with a role given Edit rights. After logging in, you will see a menu bar at the bottom of the site header, with menu choices for Private vs. Public (state), View, Contents, Edit, Share, Actions, Add, Navigate. Your username is at the far right (We are logged in as Admin, which is labeled Administrator), where there is a pull-down menu for setting your personal site preferences. Here is the editor bar:

Since we have the “About” page in view, we have certain actions available via the “Actions” pull-down menu, one of which is “Delete”:
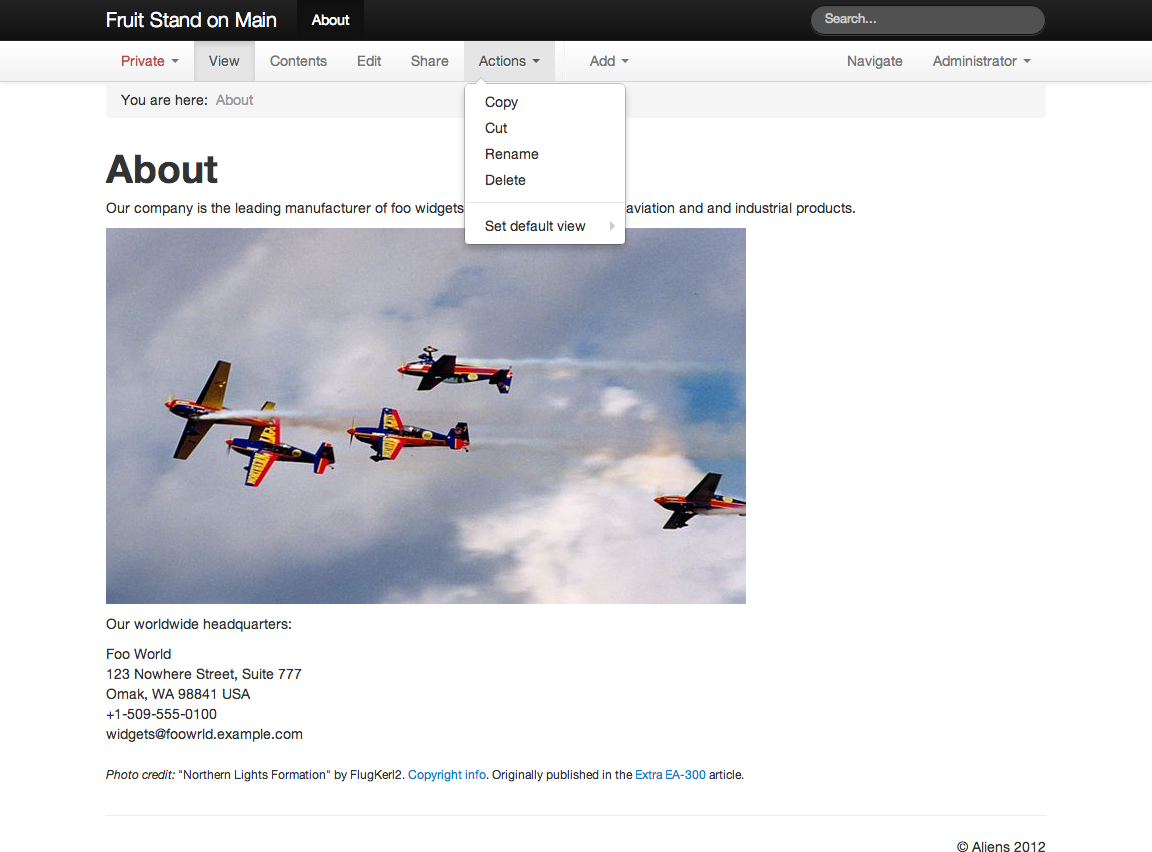
When we click the “Actions” menu, and the “Delete” choice, we get a confirmation page:
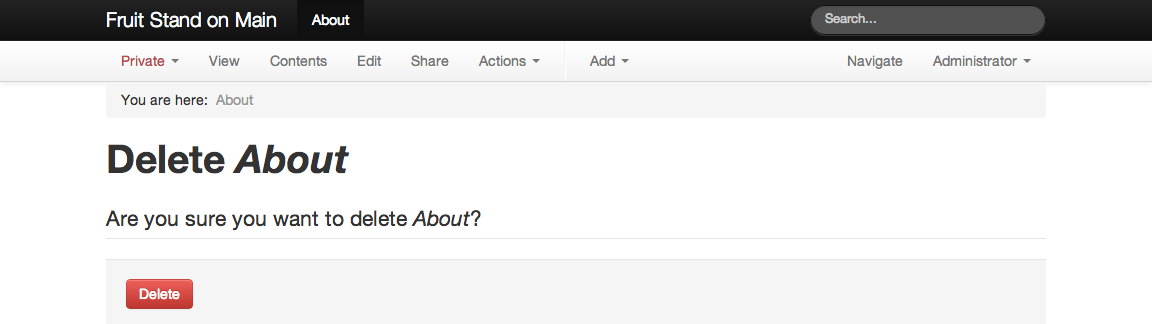
Clicking “Delete” here will permanently delete the “About” page.

The “About” page has been deleted. You no longer see “About” in the toolbar across the top of the page.
Adding a New About Page
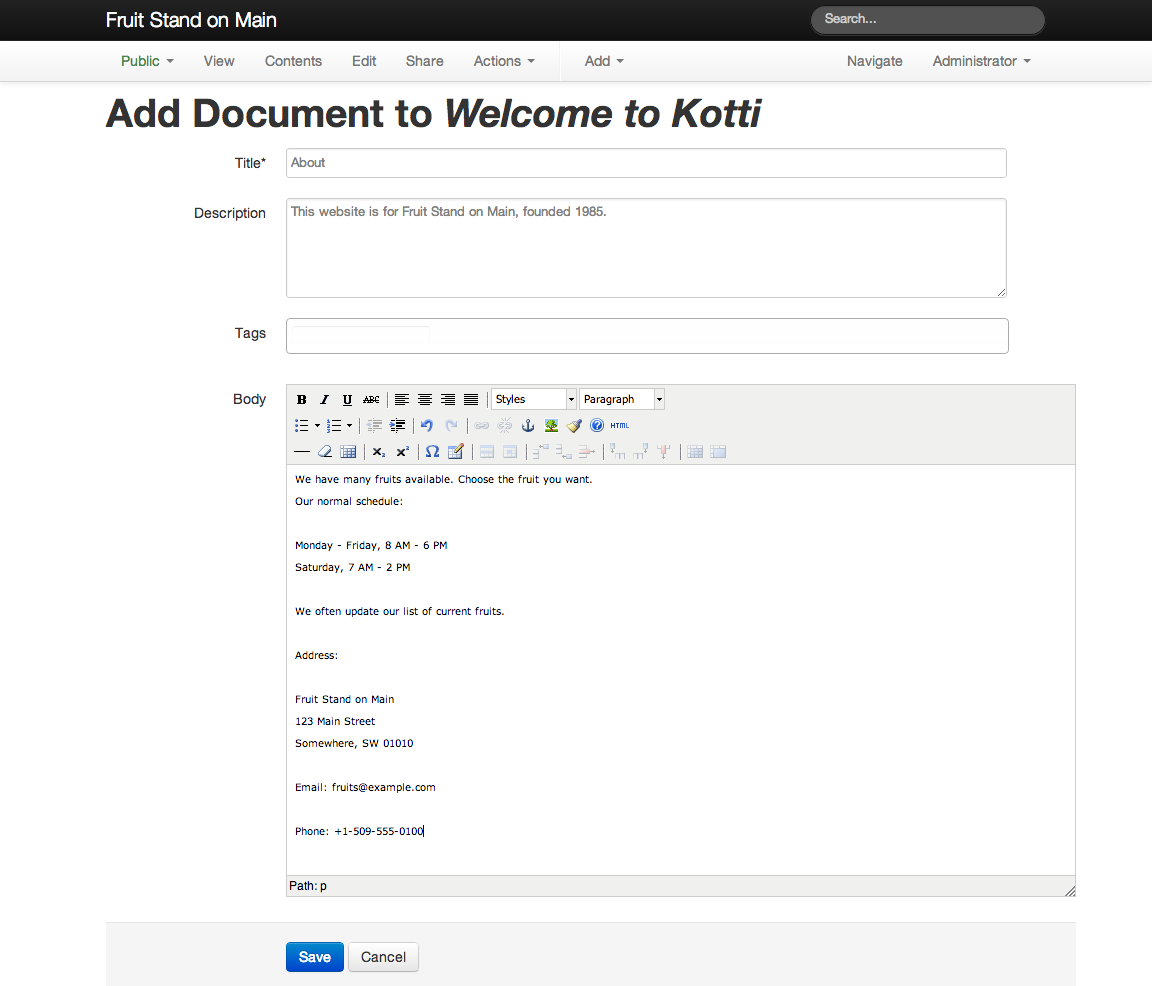
We will now add a new “About” page for our fruit stand website. We want to add the “About” page as a top-level document – from the “root” of the website. We get ready to add the “About” page by clicking on the name of the website at upper left (“Fruit Stand on Main”). You can think of this as “going home” on the website, if you are used to this terminology and common navigation – click the name of the website to go to its “main” or “home” page. Now we are ready to click the “Add” choice on the editor bar to add a Document:
We enter text for “About” as the title, description and body, and then click the “Save” button:
After saving, Kotti will flash a message saying the save was successful:
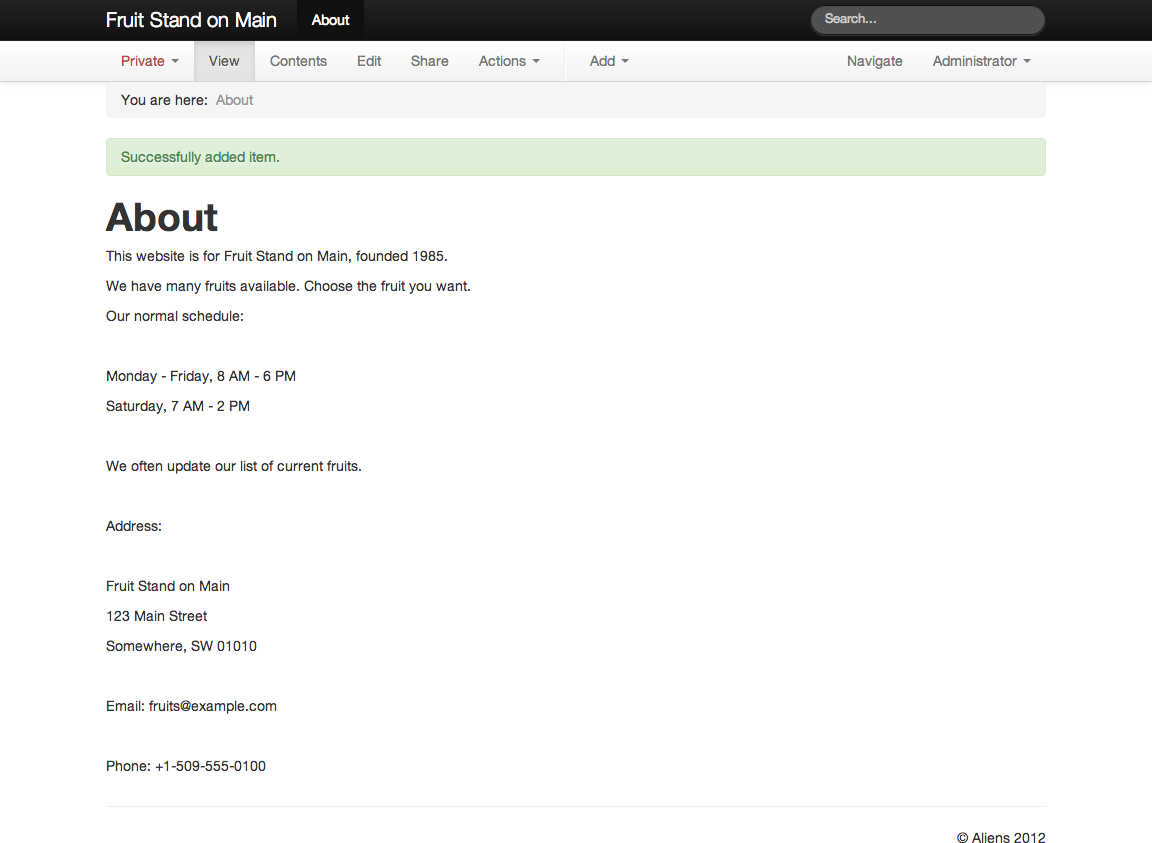
And now we have our new “About” page.
Editing the Front Page
Editing a document is very similar to adding one. We visit the page by clicking its title whereever we can see it. In the case of the front page, we get there the same way as above, by clicking on the “Fruit Stand on Main” name at upper left. But now, instead of “Add,” we choose “Edit” in the editor bar.
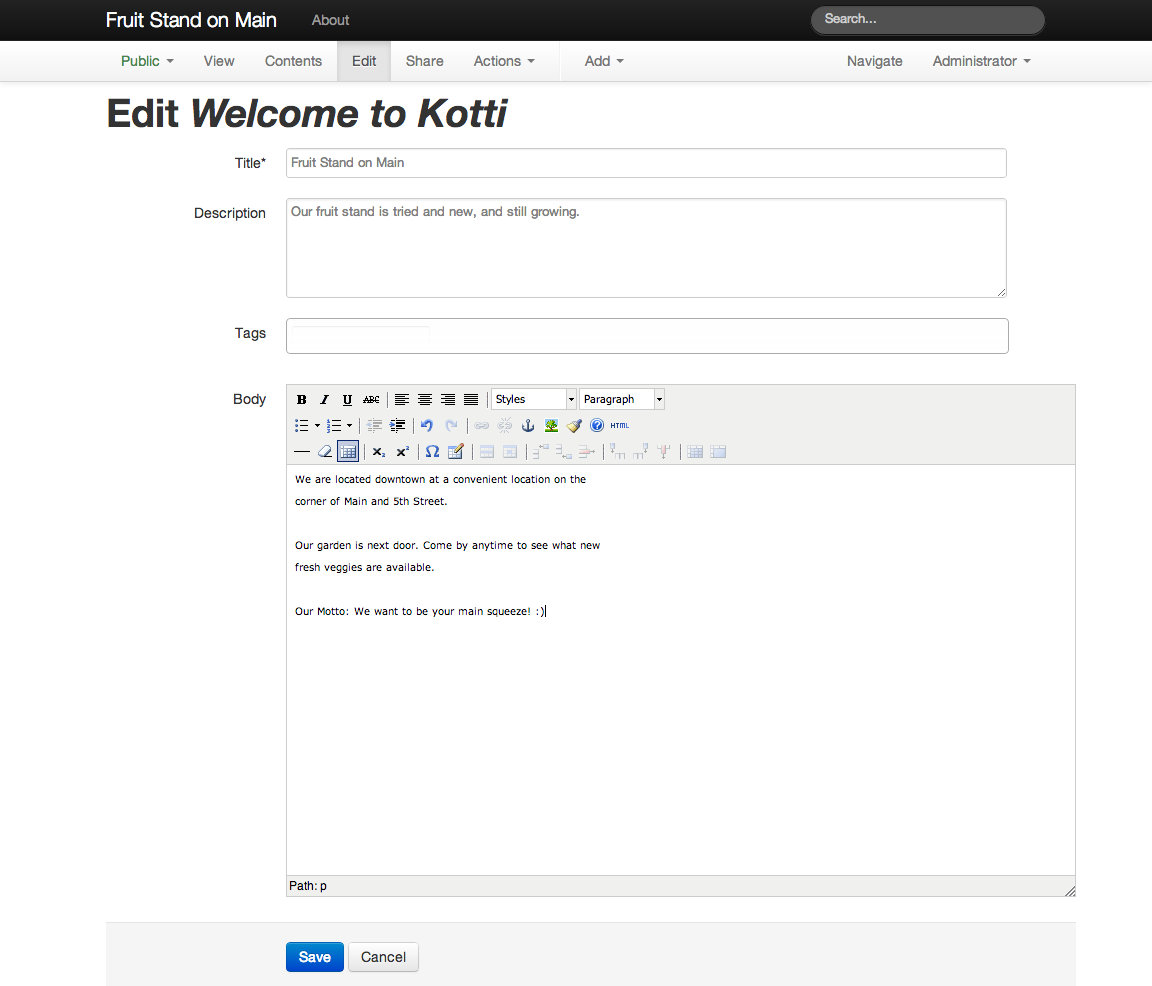
And we select and delete the existing description and body, replacing it with a bit of information about our fruit stand (Use your mouse and/or keyboard as you normally would to select text and images and delete, then type new text):
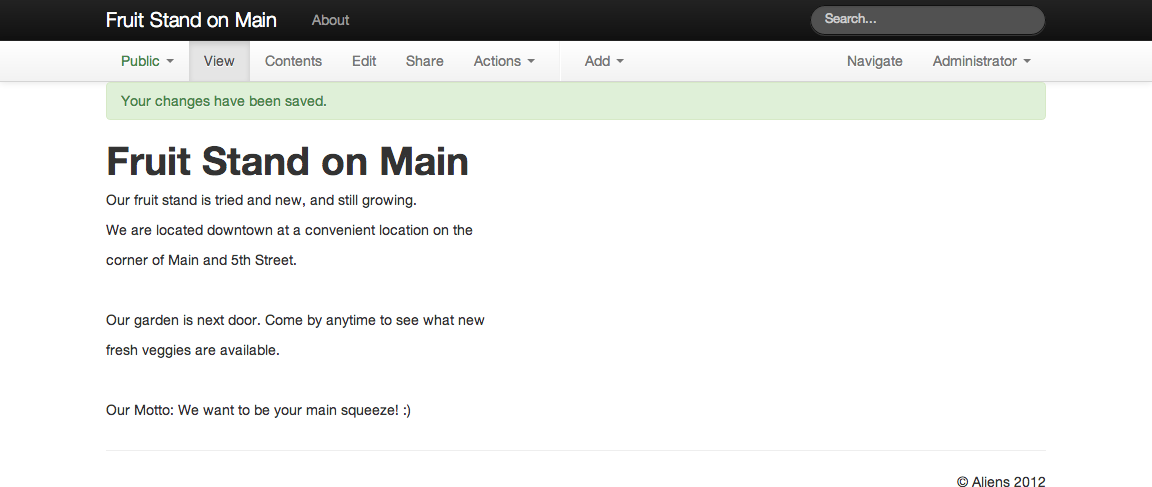
After saving, the front page doesn’t have much, but at least it is about our fruit stand now:
And now we are off and running with a new fruit stand website.